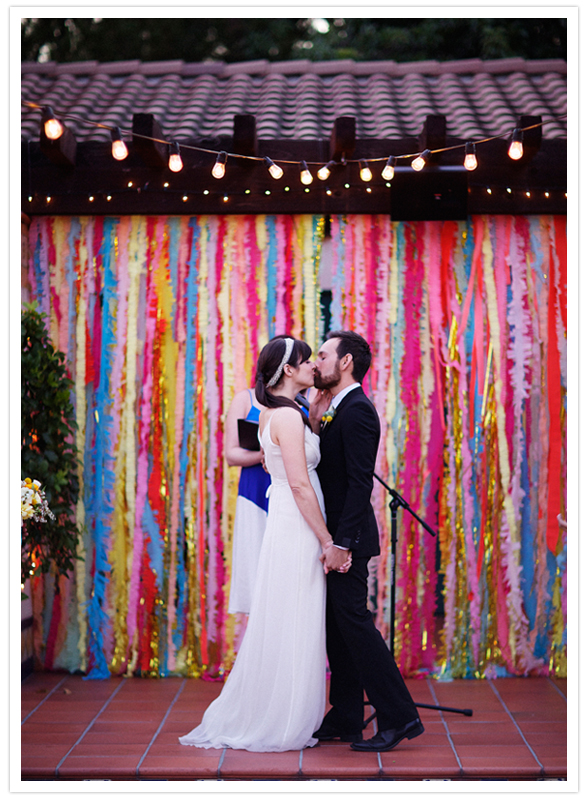
Summer makes us want to do nothing more than wear braid flowers into our hair and fall madly in love. Here's an inspiration board for all you boho brides planning on a Summer of Love wedding: bare feet, bright colors and driving off into the sunset in a vintage VW bus. It really doesn't get much better than that.
Showing posts with label DIY Wedding. Show all posts
Wednesday, May 2, 2012
Thursday, April 19, 2012
Ribbons and Streamers and Paper DIYS, oh my!
We love fun and festive DIYS for weddings - especially if they're made of paper and ribbon. Streamers, paper flowers, pinwheels, paper cones full of flowers - we love it all. All the textures and all the colors! Getting giddy just thinking about it. Here are some favorites!
Found here (with a tutorial!)
Found here (!!!)
Wednesday, March 21, 2012
Glamour & Grace Feature: Whitney & Gene
Oops, y'all! We dropped the ball and just now found out that one of our super cute couples, Whitney and Gene, was featured on Glamour & Grace back in September! Their rustic, DIY-style wedding is one you won't want to miss (assuming you hadn't already seen it, unlike us).
There are cupcakes and bunting flags and Canadian/American dancefloor mashups and a whole lot of attractive people, so make sure you check out Glamour & Grace's full post!
Thursday, March 1, 2012
Elizabeth's Expert Advice: Floral Crowns
There's been a lot of love around the internet for floral crowns and halos lately. We get requests for these lovely accessories fairly often and wanted to do a little how-to on putting one together for yourself, for a flower girl, or just to play dress-up.
Step 1: Cut a length of floral wire long enough to wrap around your head and wrap one end of it in green floral tape. This is the kind of tape that sticks to itself without any messy adhesive, so don't worry about getting it caught in your hair.
2. Begin wrapping the tape tightly around the wire - the tighter you wrap it, the better it will stay in place.
3. Once your entire length of wire is wrapped, form a circle and twist the two ends around one another.
4. Wind greens around your wire circlet - this will give your crown a lush, organic feel. We used jasmine for this purpose.
5. Use small pieces of floral wire to attach the greens to your crown, wrapping them as tightly around the taped wire as you can.
6. Choose your flowers! We love the look of these dramatic Bridal Piano roses, but smaller blooms or wildflowers also make for a beautiful crown.
7. Cut the stems of your flowers down to a few inches - just long enough to give yourself some room to work with.
8. Wrap each stem around the circlet very well - roses are heavy, so they'll need support to stay in place. Continue until you have as many or as few blooms as you'd like.
9. Try it on!
Friday, November 4, 2011
Real Weddings: Tazia Bower & Sway Salinas
![]() |
Hope these photos left you feeling inspired!
Friday, July 29, 2011
DIY Mercury Hall Wedding
Mercury Hall is just the sweetest wedding venue! Aside from the flowers, this vintage inspired wedding was DIY'ed and handmade from top to bottom. There were little details everywhere--from old books and crocheted doilies to family heirlooms such as the bride's grandmother's veil. Here is a little sneak peak:
![]() |
| Baby's Breath Bridesmaid Bouquets wrapped with Burlap and Vintage Lace |
![]() |
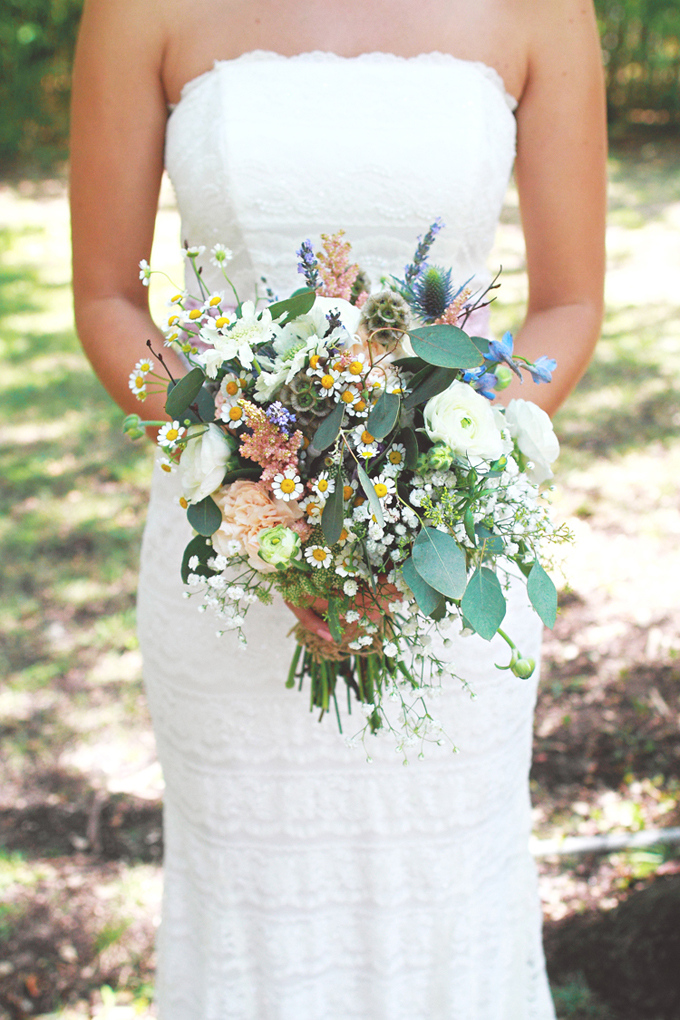
| A Natural and Romantic Garden Style Bridal Bouquet of Roses, Scabiosa, Ranunculus, Thistle, Feverfew, Astilbe, Scabiosa Pods, and Eucalyptus, wrapped with Burlap and Vintage Lace |
![]() |
Subscribe to:
Posts (Atom)