The weather is suddenly so gorgeous in Austin that yesterday we were inspired to have an impromptu tea party with the results of this week's Expert Advice and mini red velvet cupcakes from Sara Belle's.
Today's expert advice from Elizabeth is a tutorial on making these cute terra cotta dessert plates and candle holders.
Materials needed for this little project are:
Small terracotta planters and bases
A hot glue gun
Quick drying clay or putty
Optional:
Moss
Various sizes and colors of lace
Patterned paper, such as scrap-booking paper
You'll need an array of these mini planters and bases - stocking up is a cinch because they're quite inexpensive, which gives you some room to play around with different heights and sizes.
The candlesticks work best with either two or four mini planters stacked up, and one smaller planter nestled in the very top to hold the candle.
For the dessert plates, you can use any size planter for the base and any size plate you choose as long as the planter is big enough to provide support - you can easily balance them together to choose your sizes before committing to hot glue.
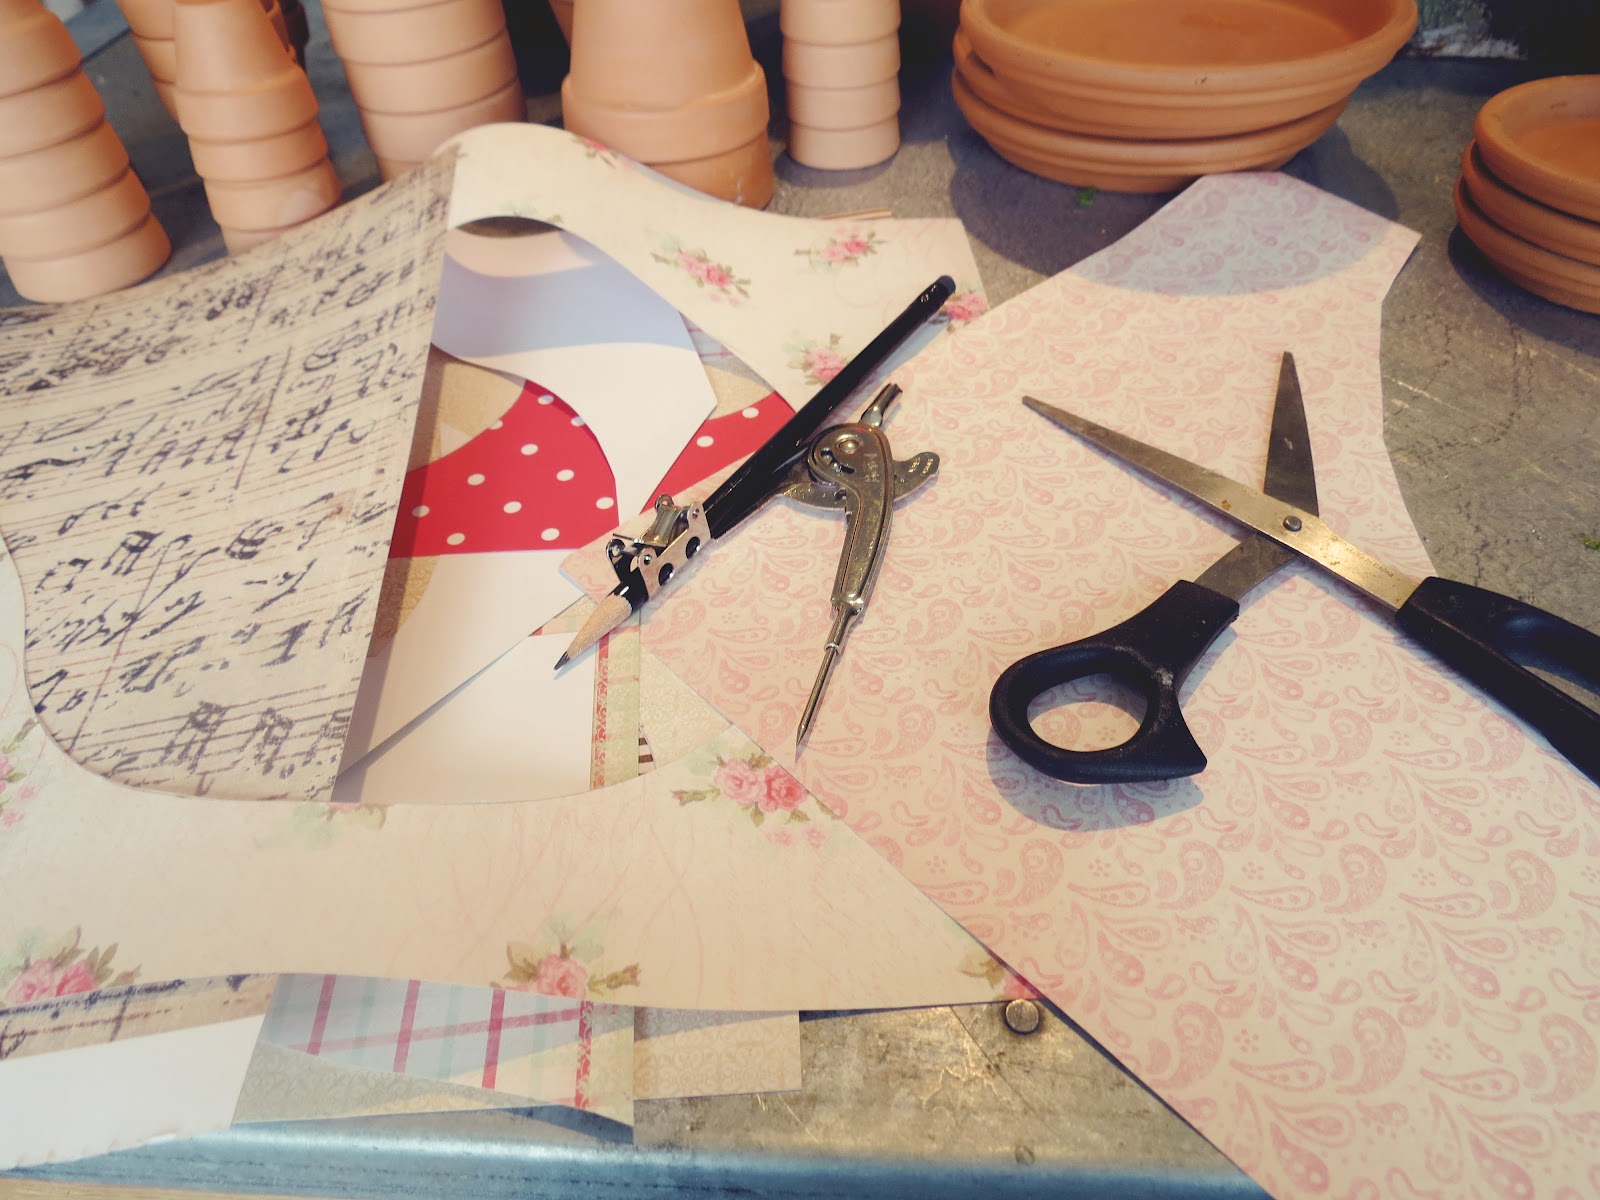
Using your tool of choice, measure around the bottom of your plate - there will be a tiny raised point in the center that you can use as a reference point. Then trace a circle of that size onto your patterned paper, cut out, and press into the plate.
We mixed-and-matched different patterns for a fun look.
Riot o' ribbon! We used 3 different ribbons and left several of the plates plain as well to avoid a look that was too fussy.
Wrapping ribbon around the edge of your plate is a little easier if you flip it upside down and use the flat surface of your work table to help keep the ribbon even. We used a bit of hot glue every two inches or so to keep this pleated ribbon in place.
To create these mossy candlestick holders, take four mini planters of the same size and hot glue them end-to-end. Be sure the widest point of your bottom planter is facing downward to start - this will give your holder more stability.
Once your planter are glued together, place a smaller one inside the top - these are perfectly sized to hold tapers and will be the piece that actually holds your candle. Once you have the two top pieces fitted together, press a small amount of quick-drying clay into the bottom (we used Crayola) to provide a little more stability for your candle.
Press the bottom of your candle into the clay, and then around the base of the candle, wrap a small amount of moss. Voila!
The terra cotta is a great look for an outdoor dinner party or picnic - we surrounded this little tea party with geraniums and daisies for a fresh, summery feel - because it definitely already feels like summer here in Texas.
Happy Wednesday, everyone!